


How to Clean and Condition Leather Tack Properly

How to Clean and Condition Leather Tack Properly
Table of Contents
- Why Tack Cleaning Actually Matters
- What You Need Before You Start
- How to Clean Tack: A Step-by-Step Routine
- How Often Should You Clean Your Tack?
- Caring for Different Horse Accessories UK Tack
- Signs Your Leather Needs Attention
- A Note on Saddle Fit and Leather Condition Together
You pull the bridle off the hook and notice it. That slightly dull look. A faint stiffness when you flex the leather. Maybe a patch of mildew you have been meaning to deal with for weeks.
It happens to all of us. Life on the yard is busy, and tack cleaning is one of those jobs that slides down the list. But here's the thing: a good leather cleaning routine does not need to take long. And done properly, it protects your horse accessories uk investment, keeps your horse comfortable, and makes everything last years longer.
This guide covers everything you need to know about tack cleaning, from what products to use to how often to do it. Whether you are working with a brand-new saddle or a bridle you have had for a decade, the principles are the same.
This post is part of our complete horse tack accessories UK buying guide.
Why Tack Cleaning Actually Matters
Leather is skin. Treated right, it stays supple, strong, and comfortable. Left dirty and dry, it cracks, stiffens, and eventually fails.
For your horse, that matters more than most people realise. A stiff, dried-out saddle does not move with the horse's back. It creates pressure points. It can cause discomfort that shows up as resistance, a short stride, or a reluctance to go forward.
For you, replacing leather horse accessories UK tack is expensive. A good cleaning habit is genuinely one of the most cost-effective things you can do.
What You Need Before You Start
You do not need a lot of kit. A few basics done well will see you right.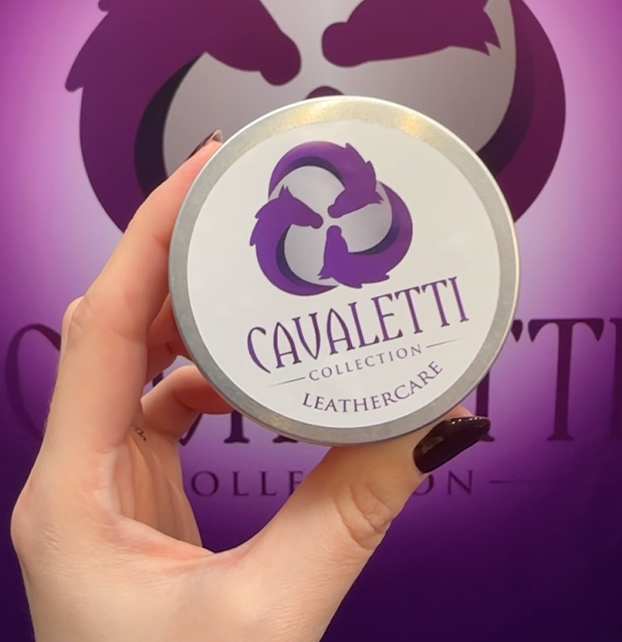
- A good quality leather cleaner or glycerine saddle soap
- A leather conditioner (not the same as cleaner)
- Two or three clean, soft cloths or sponges
- A small, soft brush for stitching and crevices
- A bucket of lukewarm water
- Somewhere to hang or rest the tack while you work
Worth avoiding: anything with alcohol, bleach, or silicone. These strip the leather's natural oils and do more harm than good over time.
How to Clean Tack: A Step-by-Step Routine
Step 1: Strip it down
Take the bridle apart. Remove the bit. Unbuckle the reins. The more you disassemble, the better job you can do.
For the saddle, remove the girth, stirrup leathers, and irons. Flip up the flaps so you can get underneath them properly.
Cleaning tack that is still half assembled means you miss the places that accumulate the most grime, which are nearly always the fold points and buckle areas.
Step 2: Remove surface dirt first
Before any product goes on, wipe everything down with a damp cloth. You want to lift the sweat, dust, and grease from the surface before you start working in soap or conditioner.
Pay attention to the inside of the reins, the underside of the saddle flaps, and anywhere that sits against your horse's skin. These areas collect the most and are easiest to overlook.
Step 3: Clean with saddle soap or leather cleaner
Work a small amount of cleaner onto a damp sponge. Rub it into the leather in small, circular motions. You want a light lather, not a foam bath.
Be thorough but gentle. Stitching does not like being scrubbed hard. Use your small brush to get into the holes around buckles and the seams on the seat of the saddle.
Wipe away any residue with a clean damp cloth. Do not leave soap sitting on the surface.
Step 4: Condition the leather
This is the step most people skip, and it is the most important one.
Cleaning removes dirt, but it also removes some of the leather's natural oils. Conditioning puts those oils back. It keeps the leather supple, prevents cracking, and gives it that good colour and feel.
Apply a small amount of conditioner with a clean cloth. Work it in gently. Less is more. You are feeding the leather, not painting it.
Leave it for a few minutes, then buff off any excess. The leather should feel soft and look slightly richer, not greasy or waxy.
Step 5: Let it dry naturally
Do not dry leather with heat. No hair dryers, no leaving it by the radiator or in full sun. Heat dries leather out from the inside and causes it to crack.
Room temperature, good airflow, away from direct sunlight. That is all it needs.
How Often Should You Clean Your Tack?
There is no single right answer, but here is a sensible guide:
- After every ride: a quick wipe down with a damp cloth. Sweat is acidic. Getting it off the leather quickly makes a real difference.
- Once a week: a proper clean with soap if you are riding regularly.
- Once a month: a conditioning session, or more often in winter when heated stables dry leather out faster.
- Before storing: always clean and condition anything going into long-term storage. Do not let a dirty saddle sit for months.
If you are riding less often, how to clean tack becomes less about frequency and more about checking regularly for any signs of dryness, mould, or cracking.
Caring for Different Horse Accessories UK Tack
Saddles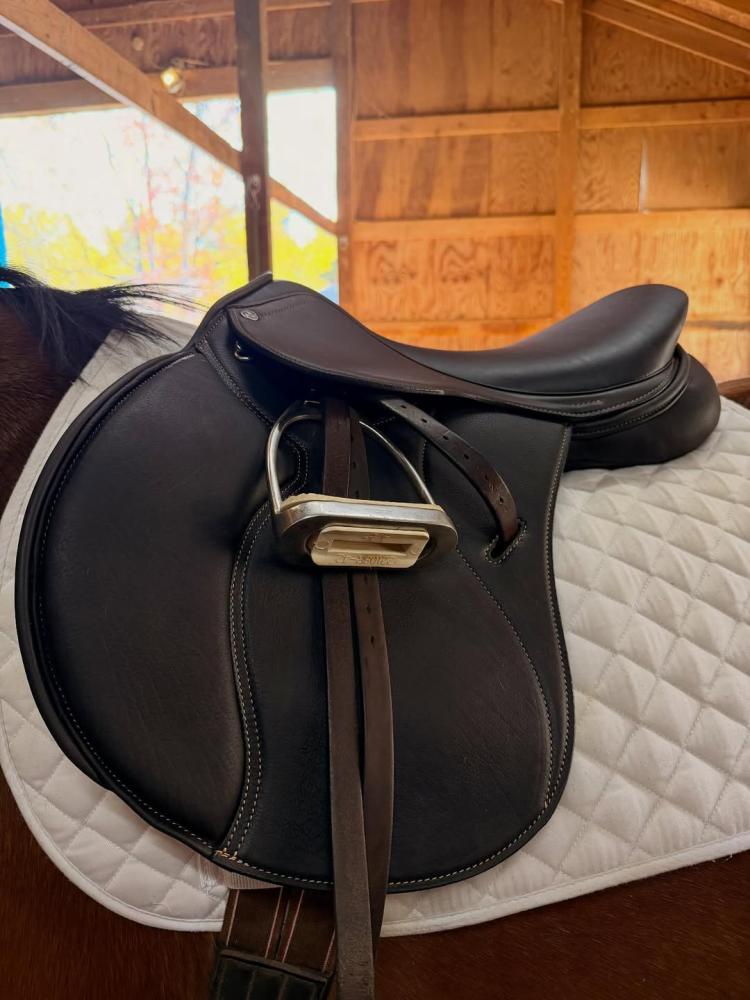
The saddle takes the most wear and needs the most attention. Pay particular care to the seat, the knee rolls, and the girth tabs. The underside of the flaps are often forgotten and can get quite crusty.
If you ride in a Cavaletti saddle with the interchangeable gullet system, check around the gullet plate area occasionally and make sure no moisture is getting trapped. Our team is always happy to advise on care for specific saddle styles.
Image Credit: @juniperglennequestrian
 Bridles and reins
Reins get the most contact with your horse's sweat and your own hands. They benefit from a clean after every few rides.
Buckles and billets need attention, too. Dry leather around metal can crack where it folds.
Girths and stirrup leathers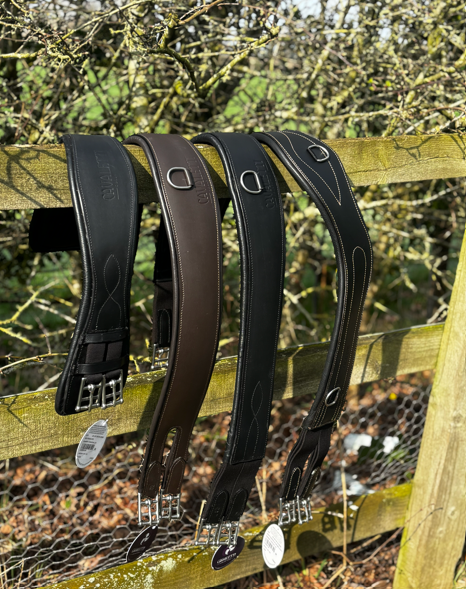
Leather girths need cleaning underneath as well as on top. The part that sits against your horse's belly gets the most sweat and takes the most pressure.
Stirrup leathers stretch over time. Regular conditioning helps them keep their shape a little longer.
Signs Your Leather Needs Attention
Your tack will tell you when it needs care. Look out for:
- A dull, chalky surface appearance
- Stiffness when you flex the leather
- Cracking, especially around fold points and buckles
- A grey or white dusty residue (often dried sweat)
- Any green or black patches, which suggest mould
Mould on leather is a sign that it has been stored damp. Wipe it off with a cloth dampened with a diluted vinegar solution, dry thoroughly, then condition. If it comes back repeatedly, check your storage conditions.
A Note on Saddle Fit and Leather Condition Together
How to clean tack properly is only part of the picture. Even the best-maintained saddle can cause problems if the fit has changed.
Horses change shape with the seasons, workload, and age. A saddle that fitted well last spring might be sitting differently now. If your horse has become reluctant to be tacked up, is showing a sore back, or is moving differently than usual, it is worth getting the fit checked.
You can find a qualified saddle fitter near you using our locator tool. And if you are thinking about a new saddle, our 14-day free trial means you can try it properly at home before you commit to anything.
Well-maintained leather on a well-fitted saddle is the combination that genuinely makes a difference to your horse's way of going.
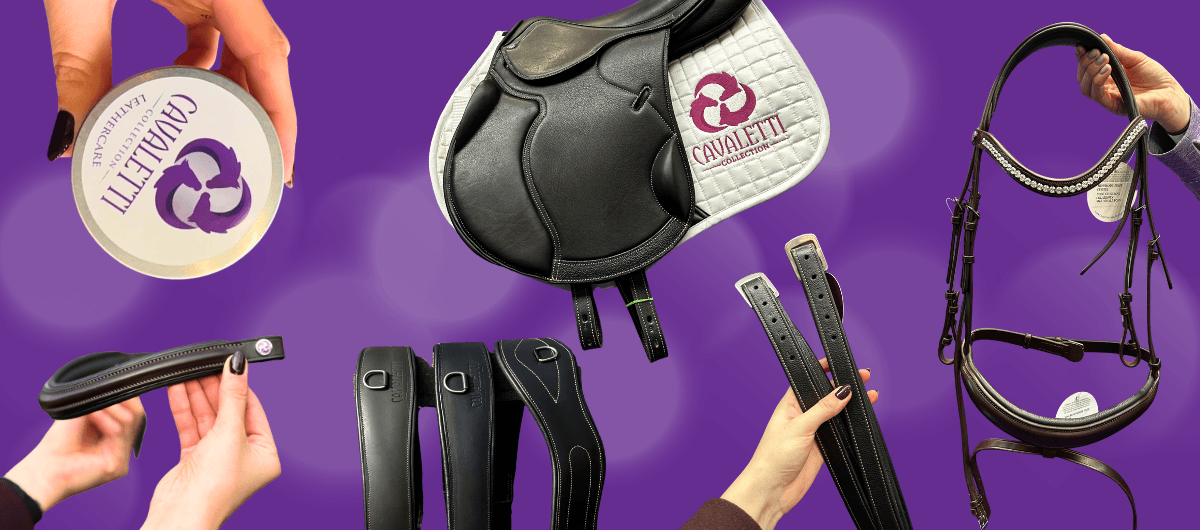
Ready to Browse?
Browse our full saddle and tack range or speak to the team if you need help choosing. We are always happy to talk through what suits your horse best. This post is part of our complete horse tack accessories UK buying guide.
-
How to Clean and Condition Leather Tack Properly
 April 14, 2026
 -
Horse Tack Accessories UK: A Practical Buying Guide
 April 13, 2026
 -
What Happens After Your 14-Day Saddle Trial? Returns, Adjustments and Next Steps
 March 20, 2026
 -
Before & After: What Changes When a Saddle Finally Fits Your Horse
 February 13, 2026
 -
Young or Sensitive Horse? How to Use a Saddle Trial to Build Confidence
 February 6, 2026